Adventures in NanoKVM!
On July 5th, a friend tossed a link onto the Discord server about a very cheap alternative to the PiKVM: the Sipeed NanoKVM. As a dedicated homelab enthusiast, this piqued my attention. I have quite a few servers that don’t have IPMI, and remote management would be very nice because it’s a lot more fun to work on those boxes drinking a beer outside while the doggo is running around the yard.
On the same day, I pulled the trigger on five of the Sipeed NanoKVMs.
Now, my expectations were fairly tame: as long as they do their job, I can manage all of the other problems that come with devices like this. However, like my expectations, I wasn’t 100% ready for what was in store.
Quick Review
Figured I’d post this at the top of the article. The rest of the information gets a smidge technical.

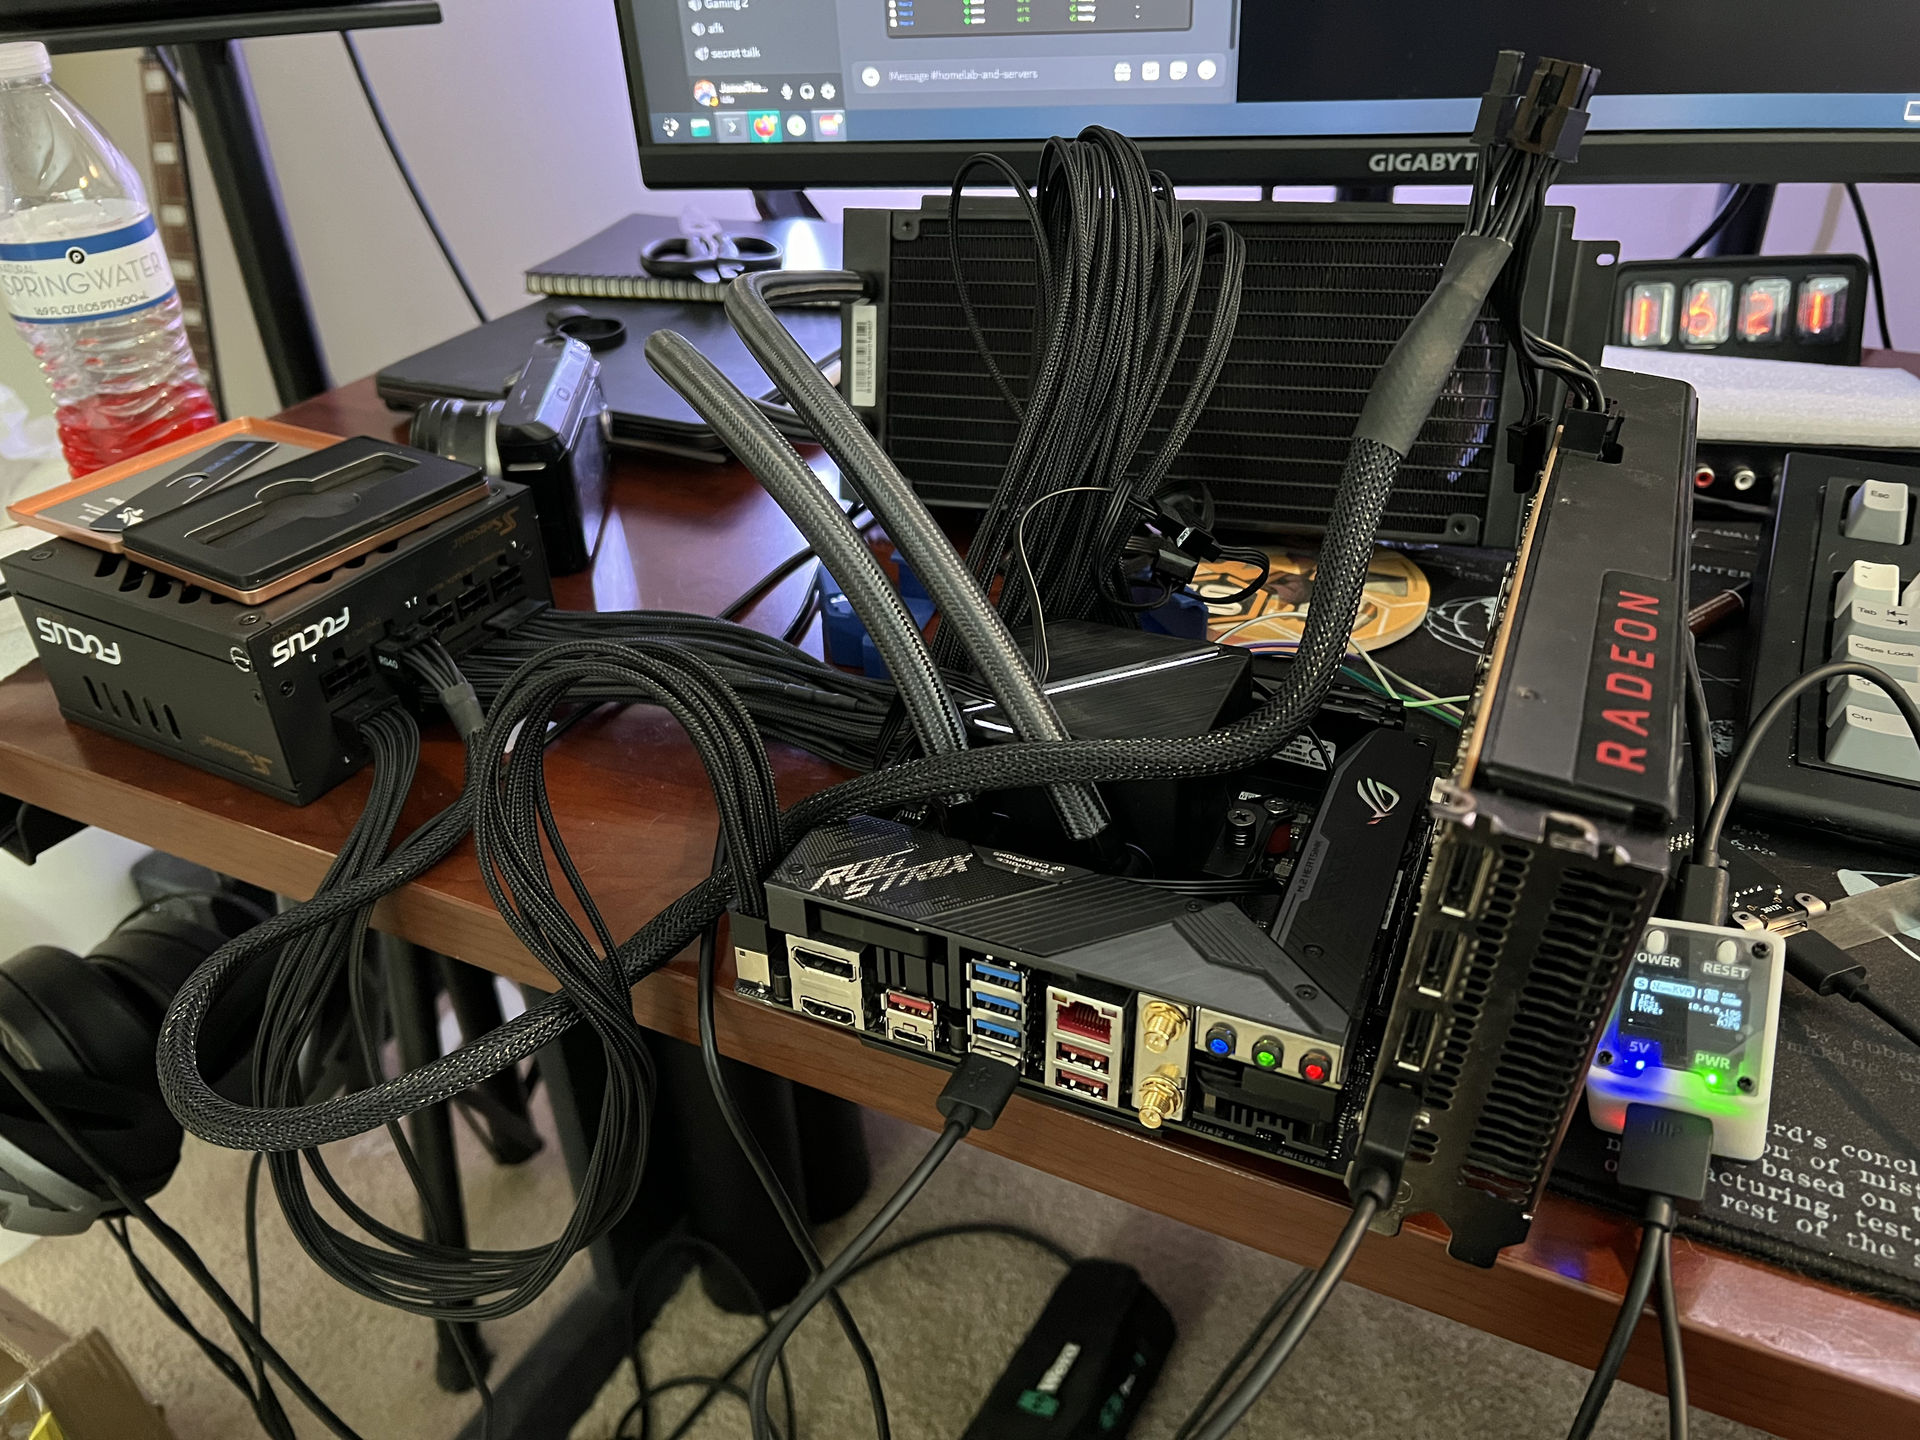
Packaging is nice, has the NanoKVM, the KVM-B breakout board for the server motherboard, two USB-A to C cables, and the cables needed to hook up everything.
The installation is easy, the sticker on the side of the NanoKVM makes it simple to make sure everything is plugged in where it needs to be. The KVM-B board that connects to the PWR_BTN, RST_BTN, and PWR_LED pins on the motherboard is well marked and the cables provided work exactly as intended.
The USB HID emulation work 99% of the time. That seems like a great value, but occasionally it decides to not work and it’s very annoying. However, it is fairly easy to bounce the NanoKVM if need be.
Installing operating systems via the NanoKVM works well. It was convenient, and since you have access via ssh you can move ISOs from your computer to the /data directory and then boot off of those ISOs from the UI of the NanoKVM. Very painless and still awesome when you do it. Be warned though that copying large ISOs will take some time as you’ll max out at round 5.3 MiB/sec on transfer rates over the network adapter.
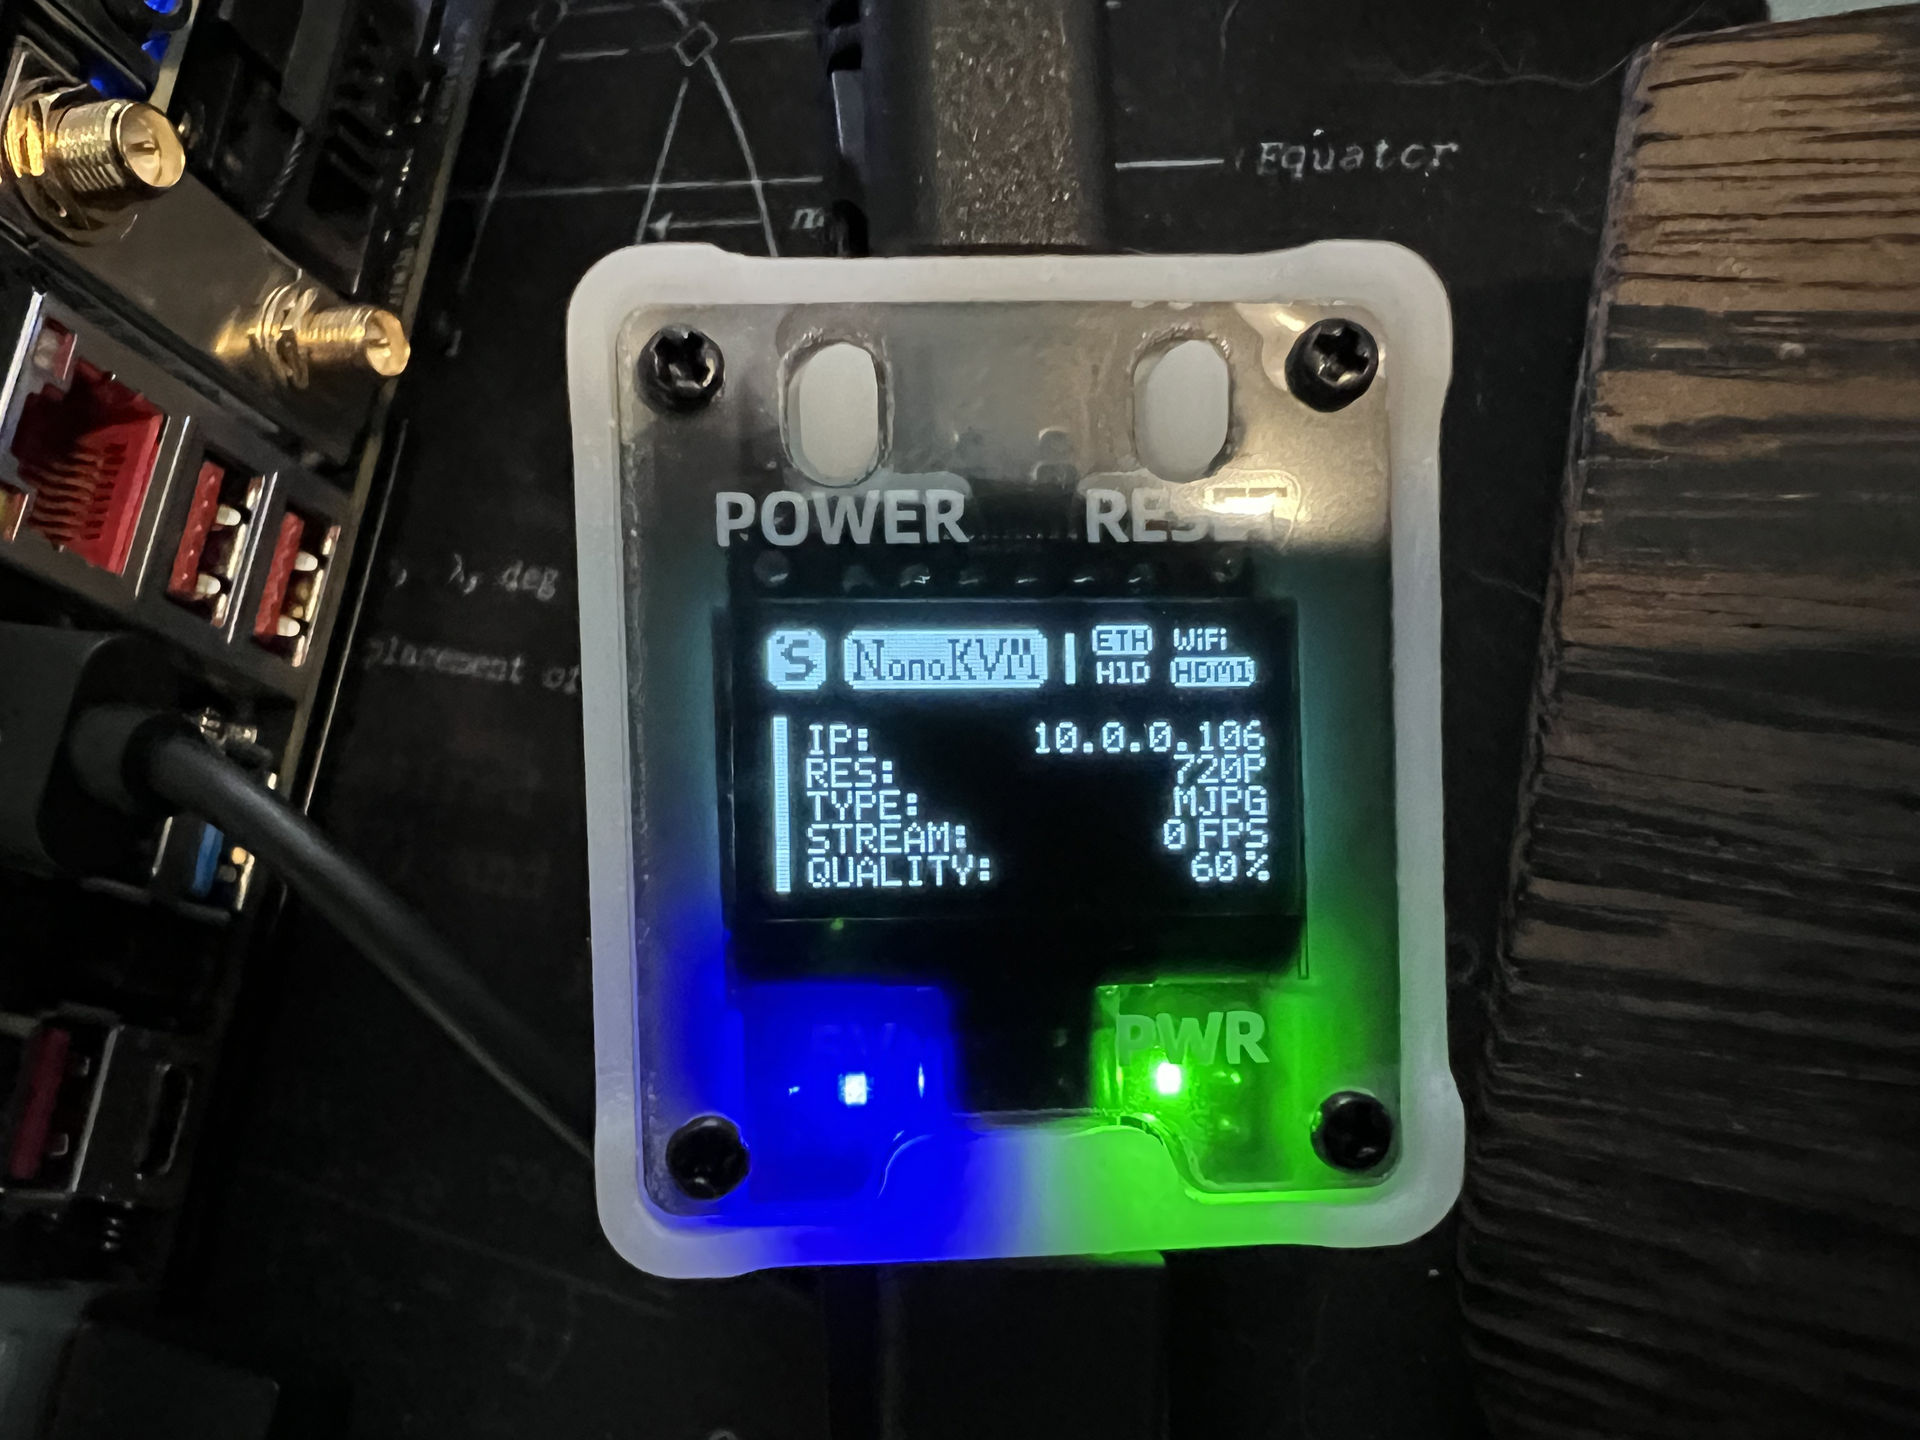
There are some UI quirks, but the UI works pretty well. The only thing I saw that made me chuckle was that the initial quality setting for HDMI stream compression was set to 60% on the NanoKVM and set to 80% in the UI. Changing the value synced up those settings.
The included PCIe bracket for the KVM-B board is awesome. It wasn’t mentioned on the website when I ordered it, but it looks great and makes the install clean on the inside of the case. Basically all those thin wires get quarantined inside the case and the only thing you have to worry about is plugging in the USB-A to C cable into that USB-A plug.

The on-board software seems haphazard. It’s not open source and there’s no real way to start breaking things down and fixing issues. Sipeed hasn’t decided on whether or not to open source the firmware, but considering some of the things I’ve seen on the device I think they really need to. I love that this works, but I think the community could do better with this device and the NanoKVM would be better because of it.
There was mention of WiFi and PoE support, but via “Expansion Accessories”. I can vouch for the fact that PoE does not work on the device. Go ahead and grab a PoE splitter with a USB-C cable and just use that to run the device. It’s annoying, but it’s the least annoying way to power the device. I didn’t test if WiFi worked though.
Networking is DHCP by default, so that’s nice.
For $50 it does everything I need it to do. However, I will be quarantining these devices on their own VLAN and making sure they are properly isolated. There were rumors about them porting PiKVM over, but I haven’t seen anything concrete with respect to releases. Also, their releases are horrible. The devices ship with FW 2.0.1, but the latest on their GitHub page is 1.2.0 so I have absolutely no idea what’s going on.
Long story short: it works but has issues. If you have the funds, go with a PiKVM. If you don’t or you just want to play around with these then go for these.
Update (2024-08-19): I don’t think this is 100% fair reading it again. They’re very good at doing their job with a couple of small issues. I still think the PiKVMs are better devices, but are they $200+ better? The answer is no. It’s a perfectly reasonable solution for remotely managing servers with a great UI that use very small amounts of power.
Hardware
The Sipeed NanoKVM is based on the LicheeRV Nano board. It’s a RISC-V CPU on a tiny board that seems more Arduino-esque than Raspberry Pi. Not a bad thing, but the size of the devices are much different.
I’d like to say that the configuration is fairly straightforward, but it’s not. The LicheeRV Nano board has two CPU cores on it. The “big” core runs at 1GHz and can be either RISC-V or ARM. The “small” core is RISC-V and runs at 700MHz. Running the cat /proc/cpuinfo command on the NanoKVM gives us a ton of information about the CPU configuration:
1
2
3
4
5
6
7
8
# uname -a
Linux kvm-1e6a 5.10.4-tag- #59 PREEMPT Tue Jul 23 20:13:44 PDT 2024 riscv64 GNU/Linux

# cat /proc/cpuinfo
processor       : 0
hart            : 0
isa             : rv64imafdvcsu
mmu             : sv39
Okay, ummm, so we have the full RISC-V configuration it seems? I’m not sure I’m going to get any more information out of this without a bit more effort.
OS and Software
So, looks like this uses Buildroot for the operating system. I’d link to the main site, but it doesn’t seem to be loading for me.
The firmware is version 2.0.1 and with it brings the best parts of the Linux kernel version 5.10.4.
This is where things get “fun”.
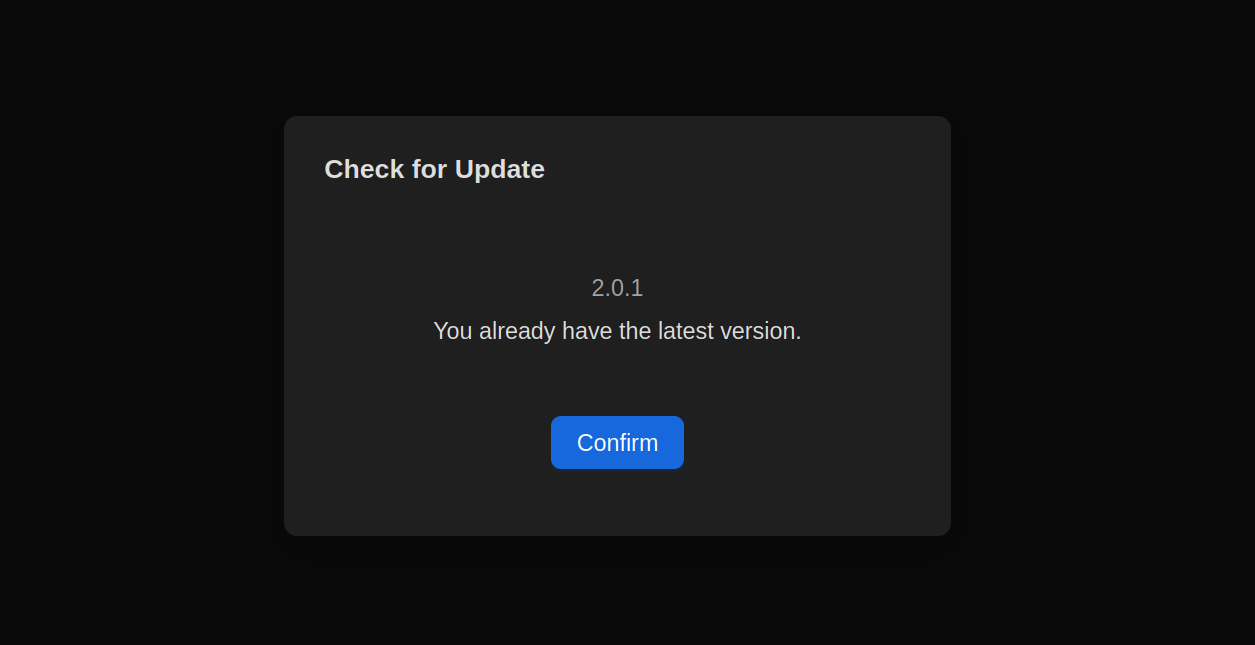
The firmware version on all of my devices is 2.0.1. The UI has an Update button that says it’s the latest version of the firmware. It is very sure of this, and normally I would take the NanoKVM’s word for it.
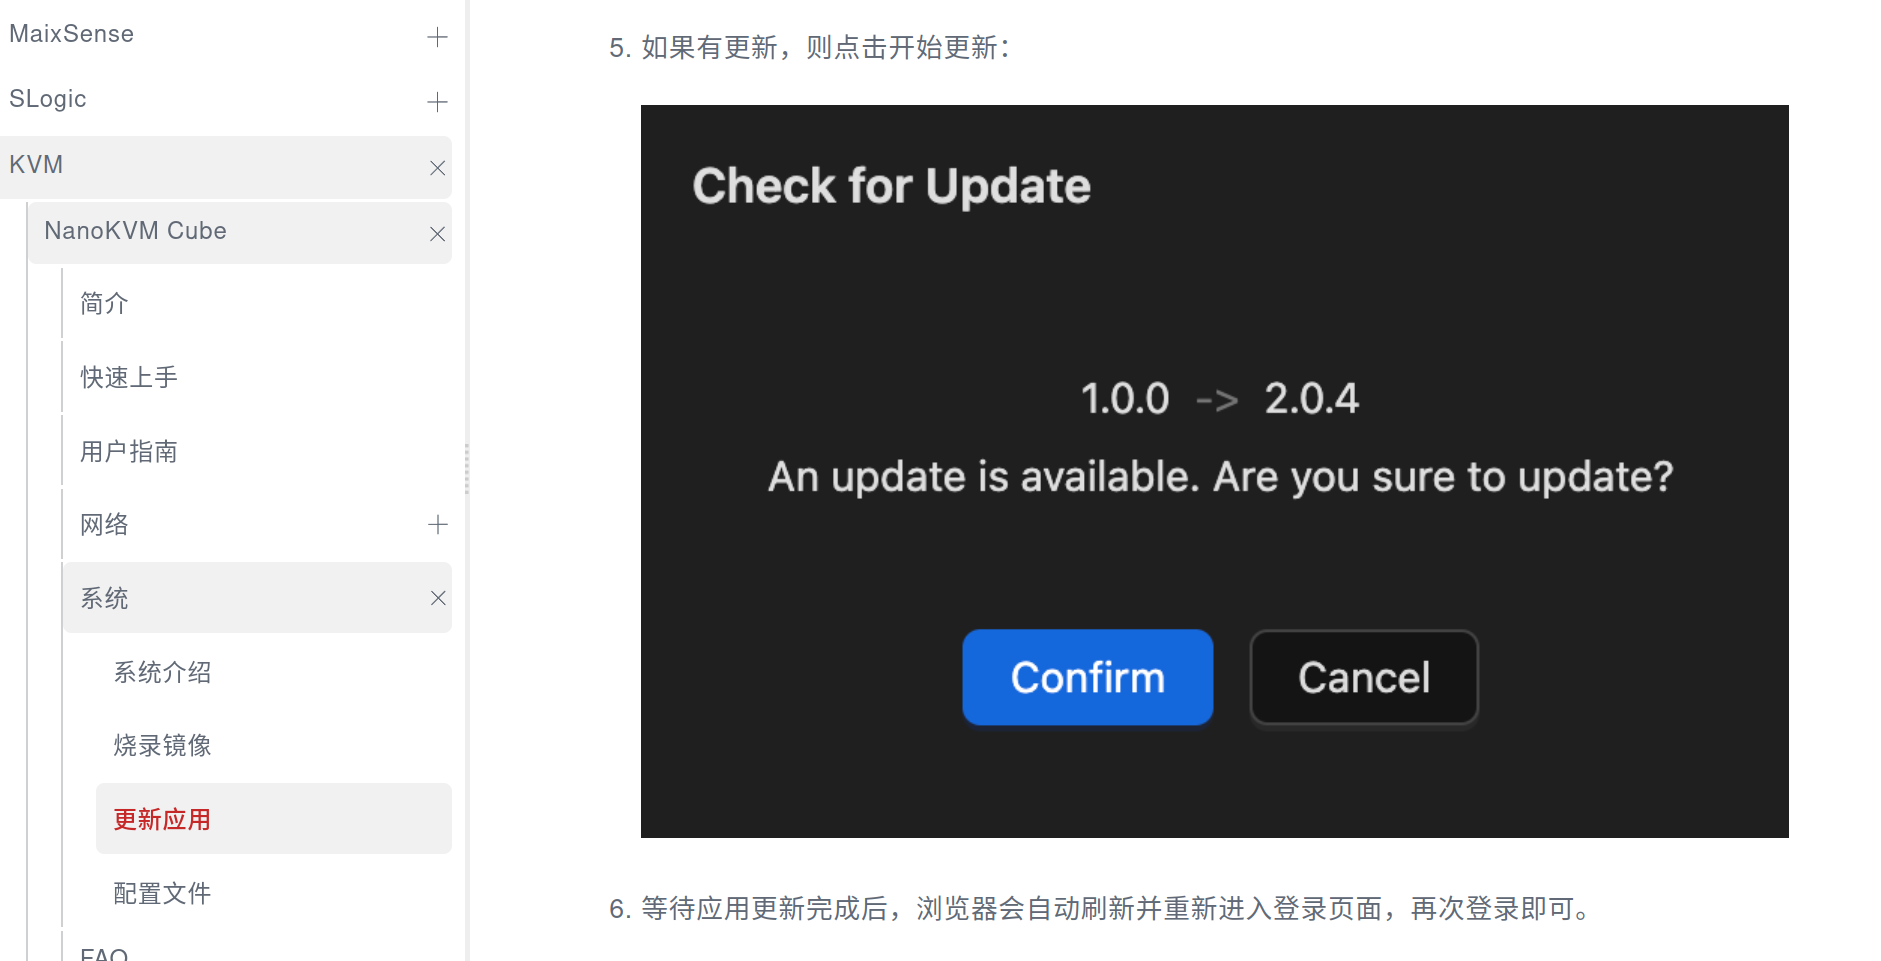
However, the Sipeed NanoKVM GitHub page disagrees. That page is very sure it’s 1.2.0 and that it was released a couple of weeks ago.

Cool, that’s probably just Sipeed shipping a newer firmware version with the devices and maybe they haven’t updated the Github page yet?
No worries, lemme check the NanoKVM Wiki and see if I can get more information.
Huh.
I’m not really sure what to say on this one. Let’s make this a “Choose Your Own Adventure” and you can just select from one of the following options depending on mood:
- The firmware shipped is from the future (2.0.1 when compared to 1.2.0)
- The firmware is the latest available (2.0.1 ignoring the wiki)
- The firmware is out-of-date (2.0.1 when compared to the wiki)
This is assuming that the releases in the Github repository are actually new firmware releases and not just the web server software.
What’s in the Box?
Now that the firmware version is sorted, let’s talk about the software and even more OS stuff. Yes, the title of this section says user interface, but this one is pretty interesting.
1
2
3
4
5
6
7
8
9
10
11
12
13
14
15
16
17
18
# ps -ef | grep -i kvm
  446 avahi    avahi-daemon: running [kvm-1e6a.local]
  478 root     /tmp/kvm_system/kvm_system
  480 root     /tmp/kvm_stream/kvm_stream
  537 root     /tmp/server/NanoKVM-Server
 3782 root     grep -i kvm

# find / -type f -iname '*kvm*'
/kvmapp/kvm_system/kvm_system
/kvmapp/server/NanoKVM-Server
/kvmapp/kvm_stream/kvm_stream
/tmp/server/NanoKVM-Server
/tmp/kvm_stream/kvm_stream
/tmp/kvm_system/kvm_system
/mnt/system/usr/bin/server/NanoKVM-Server
/mnt/system/root/NanoKVM-Server
/etc/init.d/S99kvmtest
/etc/init.d/S95nanokvm
Do you see it? It’s interesting. We’re running the binaries out of /tmp which is pretty neat. Maybe they’re getting copied from the /kvmapp directory into /tmp and being run from memory which should help out with SDcard wear?2
The following snippet comes directly from the /etc/init.d/S95nanokvm file.
1
2
3
4
5
6
7
8
9
10
11
    cp -r /kvmapp/kvm_system /tmp/
    /tmp/kvm_system/kvm_system &

    if [ -e /kvmapp/kvm_stream ]
    then
      cp -r /kvmapp/kvm_stream /tmp/
      /tmp/kvm_stream/kvm_stream &
    fi

    cp -r /kvmapp/server /tmp/
    /tmp/server/NanoKVM-Server &
So, the first bit is the /kvmapp/server/NanoKVM-Server binary. Definitely written in Golang, comes in around 14.5 megabytes. This looks like what’s handling the web stuff just doing a brief strings call. Nothing too crazy.
1
2
# file /tmp/server/NanoKVM-Server
NanoKVM-Server: ELF 64-bit LSB executable, UCB RISC-V, double-float ABI, version 1 (SYSV), statically linked, Go BuildID=57I4S3uhao53R-3Va6eD/GDw8fZtyPkWvLCShCoi5/Bi_vRiHaaL1_r838auFt/YkQjXwssTGSp3zBkNjFM, with debug_info, not stripped
Secondly, the /kvmapp/kvm_stream/kvm_stream binary. This is definitely not a Go binary, even has a nice dl_lib directory with a bunch of library files. I’m assuming this is responsible for transcoding the HDMI stream.
1
2
3
4
5
6
7
8
9
10
11
12
13
14
15
16
# ls /tmp/kvm_stream
dl_lib      kvm_stream

# file /tmp/kvm_stream/kvm_stream
kvm_stream: ELF 64-bit LSB executable, UCB RISC-V, RVC, double-float ABI, version 1 (SYSV), dynamically linked, interpreter /lib/ld-musl-riscv64v0p7_xthead.so.1, stripped

# ls /tmp/kvm_stream/dl_lib
libaaccomm2.so         libcvi_RES1.so         libdnvqe.so            libraw_dump.so
libaacdec2.so          libcvi_VoiceEngine.so  libini.so              libsys.so
libaacenc2.so          libcvi_audio.so        libisp.so              libtinyalsa.so
libaacsbrdec2.so       libcvi_bin.so          libisp_algo.so         libvdec.so
libaacsbrenc2.so       libcvi_bin_isp.so      libjson-c.so.5         libvenc.so
libae.so               libcvi_ispd2.so        libmaixcam_lib.so      libvpu.so
libaf.so               libcvi_ive.so          libmipi_tx.so
libawb.so              libcvi_ssp.so          libmisc.so
libcli.so              libcvi_vqe.so          libosdc.so
Thirdly, there is the kvm_system binary. I’m not 100% sure what in the hell this does, but my best guess is maybe control things on the KVM-B board? The problem is that the library files in the dl_lib directory for the binary are the exact same as the ones in the kvm_stream folder so your guess is a good as mine.
1
2
3
4
5
6
7
8
9
10
11
12
13
14
15
16
# ls /tmp/kvm_system
dl_lib      kvm_system

# file /tmp/kvm_system/kvm_system
kvm_system: ELF 64-bit LSB executable, UCB RISC-V, RVC, double-float ABI, version 1 (SYSV), dynamically linked, interpreter /lib/ld-musl-riscv64v0p7_xthead.so.1, stripped

# ls /tmp/kvm_system/dl_lib
libaaccomm2.so         libcvi_RES1.so         libdnvqe.so            libraw_dump.so
libaacdec2.so          libcvi_VoiceEngine.so  libini.so              libsys.so
libaacenc2.so          libcvi_audio.so        libisp.so              libtinyalsa.so
libaacsbrdec2.so       libcvi_bin.so          libisp_algo.so         libvdec.so
libaacsbrenc2.so       libcvi_bin_isp.so      libjson-c.so.5         libvenc.so
libae.so               libcvi_ispd2.so        libmaixcam_lib.so      libvpu.so
libaf.so               libcvi_ive.so          libmipi_tx.so
libawb.so              libcvi_ssp.so          libmisc.so
libcli.so              libcvi_vqe.so          libosdc.so
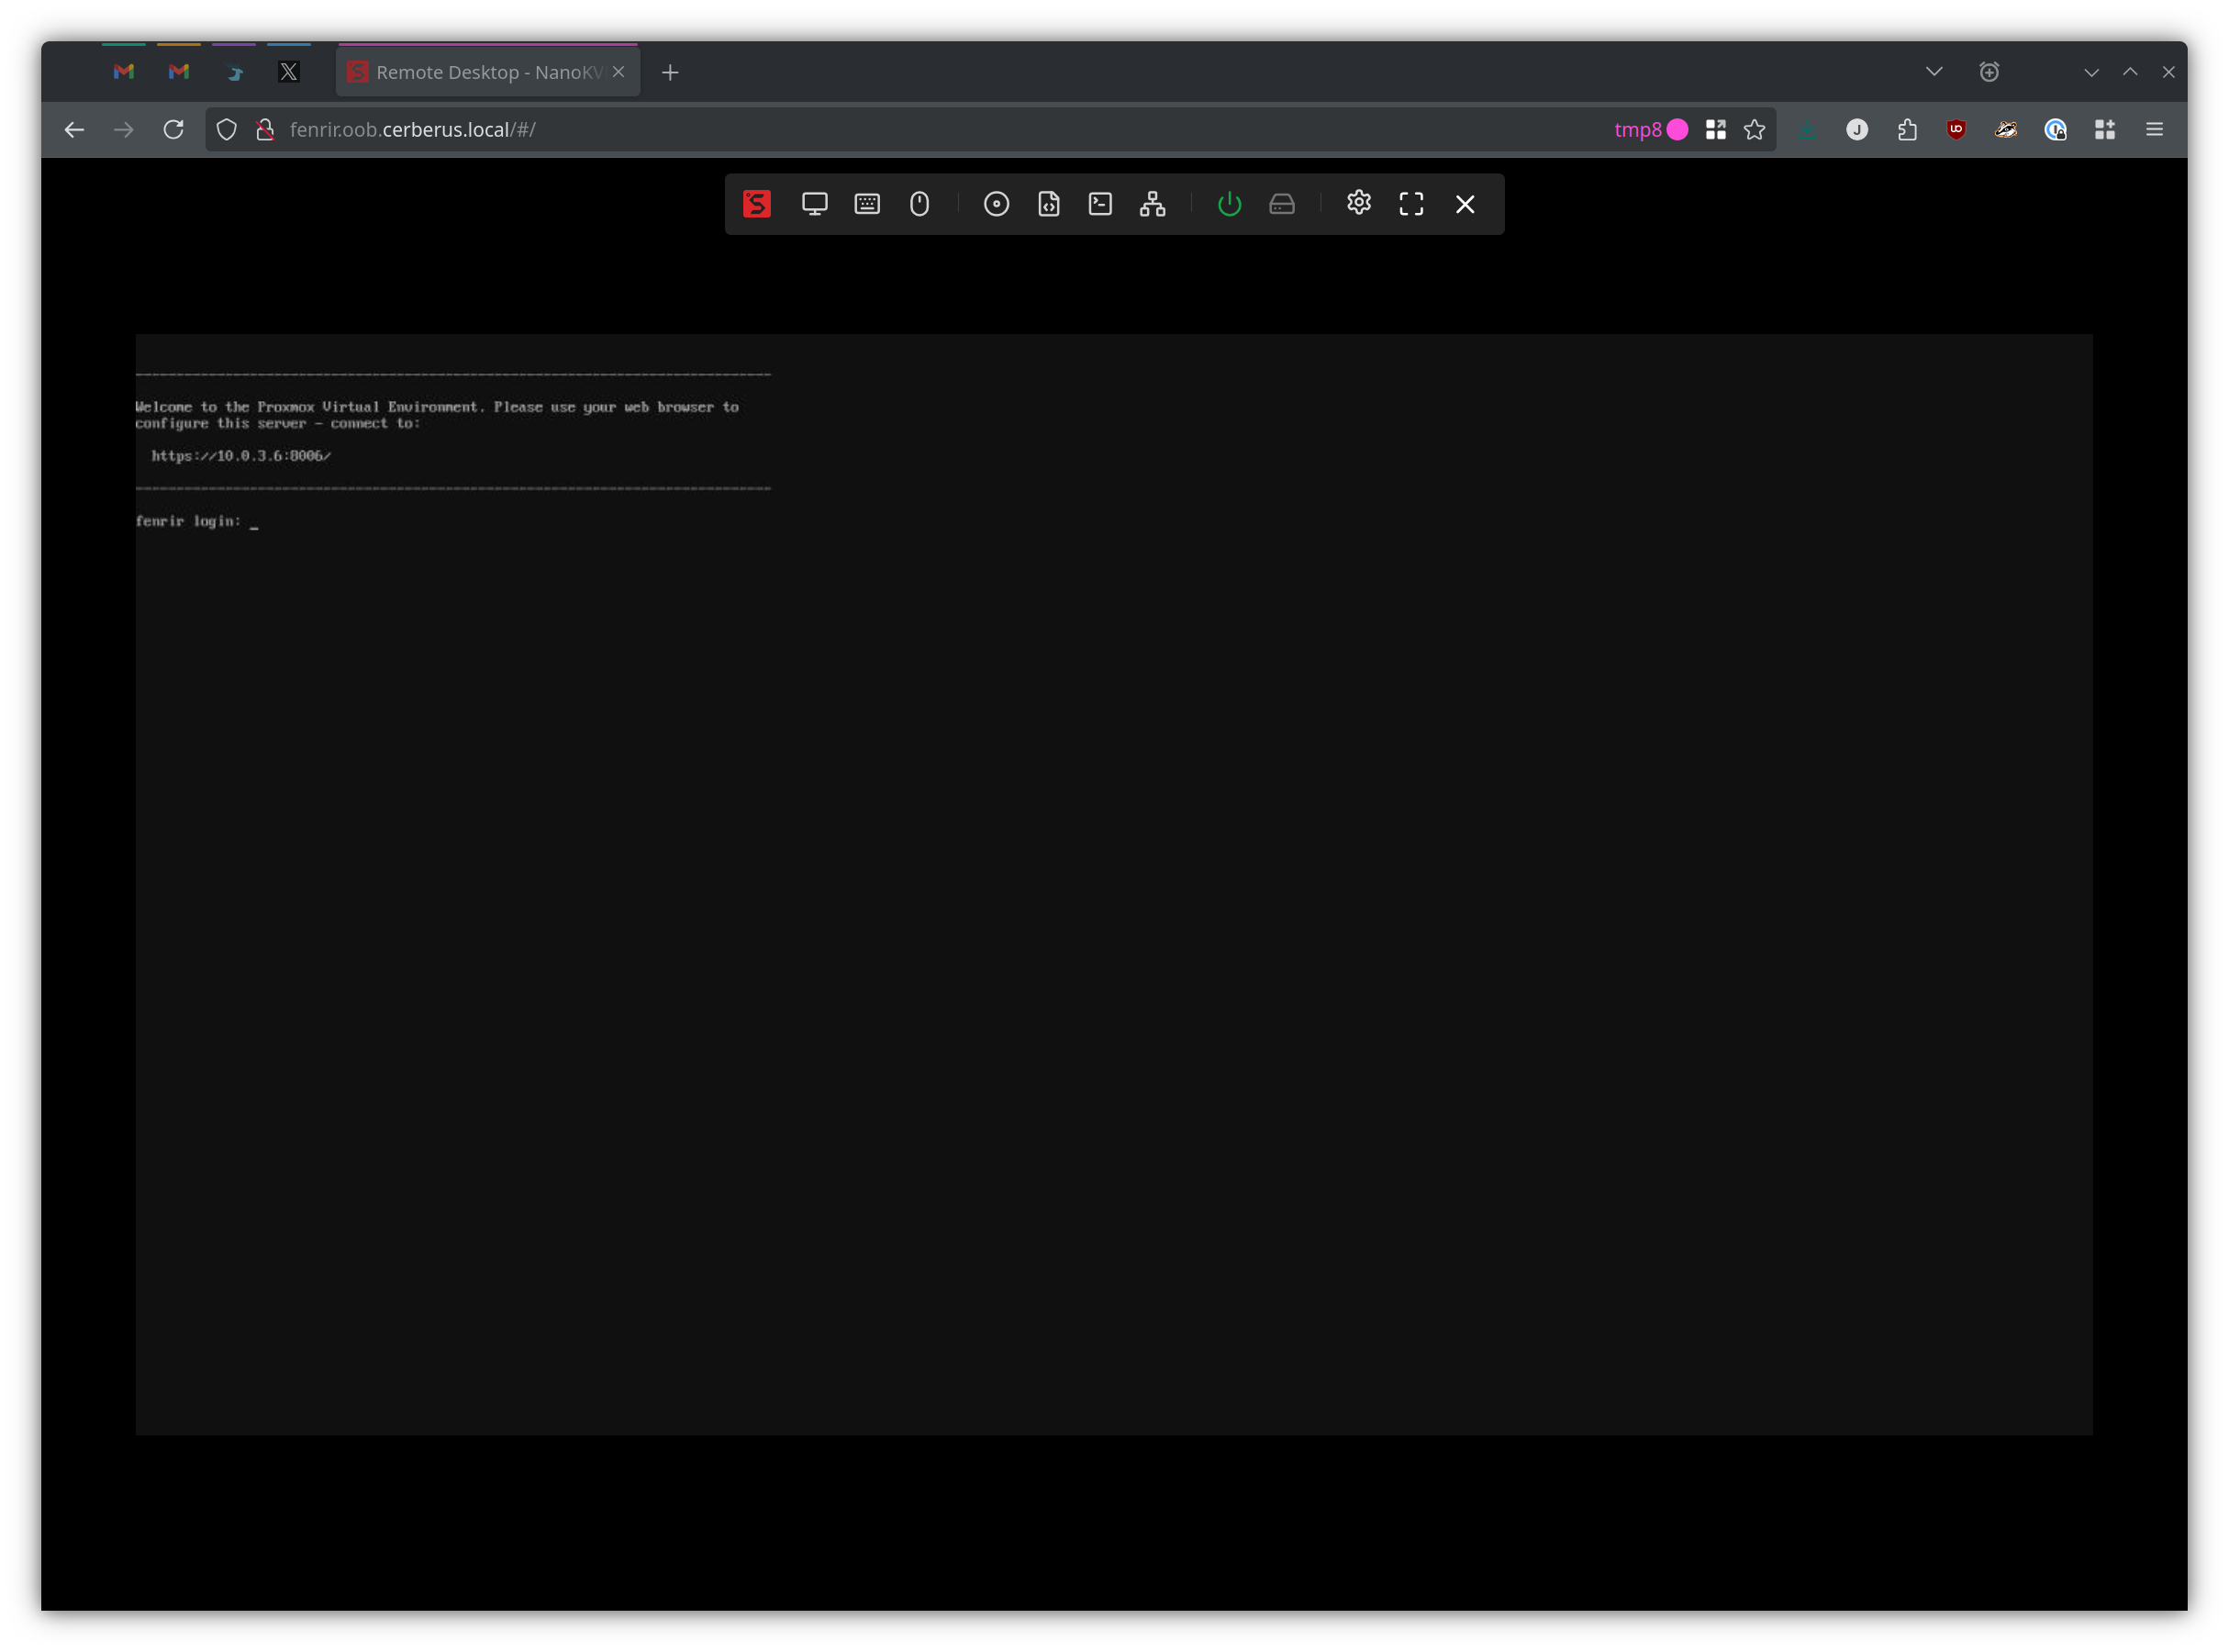
All of these lead up to the glorious UI that you get to log into!
Web UI Breakdown
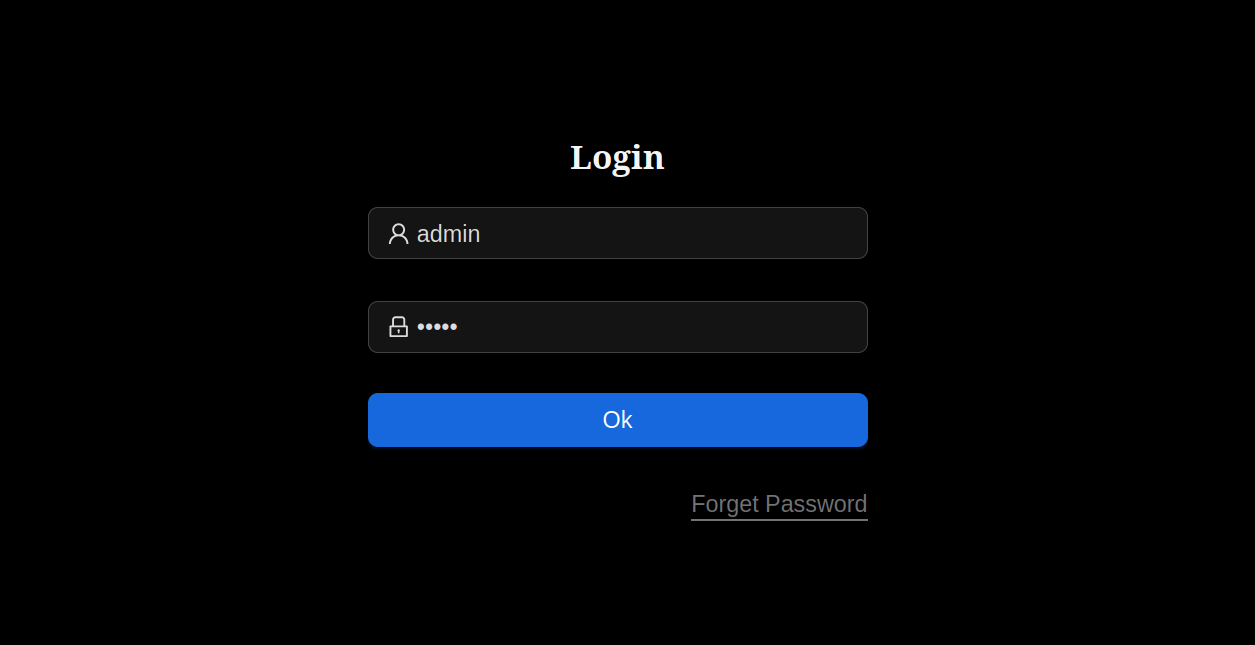
So, upon the Sipeed NanoKVM getting an IP address via DHCP (the default configuration), you can immediately login to the web UI with the admin/admin combo. Not sure what the Forget Password link does, but I’ll let the more adventurous try that out.
Once logged in you are greeted to the fun bits! It’s fairly simple overall. The monitor icon will let you choose your resolution, frame rate, and quality.
Monitor Icon
![]()
The Resolution option only affects the resolution it’s captured as and not the guest OS. Sipeed is fairly direct in saying you’ll have to do that part from the guest OS if you want to change the actual resolution. For me, 1280x720 has been fine.
The FPS option gives you options for the capture frame rate. There are some preset values: 10, 15, 24, 30, and 60 FPS along with a custom box that you can just toss a different value into. I’m currently rocking out at 30 FPS without any issues what-so-ever.
The Quality option allows you to set the quality of the encode. The lower the quality, the less of a load that’s put on the CPU, and the worse the stream looks. By default this is set to 60%. I’ve bumped mine up to 80% and it’s been fine.
Keyboard Icon
It brings up an on-screen keyboard.
Mouse Icon
![]()
Yeah, I left this alone. Relative mode seems to work though the mouse cursor takes its sweet time going where it needs to go. Absolute mode might have worked better, but relative mode wasn’t so annoying that I felt like I had to change it. Your mileage may vary.
Optical Disc Icon
![]()
This is very straightforward: scp your ISO to the /data folder on the NanoKVM and once it’s done you can install your OS from the device. I tested this out with a few distros and it work pretty well. Had a false-start with the Ubuntu 24.04 LTS install, but I’m not 100% what the problem was as the rest installed perfectly.
The wiki says to transfer the ISOs to the NanoKVM via USB, but just don’t. Use scp like you’re supposed to, then grab lunch right after you run the command because you’re gonna see about 5.3 MiB/s for the transfer rate.
Also, you’ve only got about 21.5 GiB of free space on that partition, so be aware of that.
1
2
3
4
5
6
7
8
9
10
11
12
# df -h
Filesystem                Size      Used Available Use% Mounted on
/dev/mmcblk0p2            7.6G    762.4M      6.5G  10% /
devtmpfs                 77.7M         0     77.7M   0% /dev
tmpfs                    79.0M         0     79.0M   0% /dev/shm
tmpfs                    79.0M     25.4M     53.6M  32% /tmp
tmpfs                    79.0M    144.0K     78.8M   0% /run
/dev/mmcblk0p1           16.0M     11.5M      4.4M  72% /boot
/dev/mmcblk0p3           21.5G    160.0K     21.5G   0% /data

# mount | grep data
/dev/mmcblk0p3 on /data type exfat (rw,relatime,fmask=0022,dmask=0022,iocharset=utf8,errors=remount-ro)
Script Icon
![]()
Not sure what this does as I didn’t get it to work. Plus, I have SSH access which makes things a bit easier. Going to assume you can upload a script and run it on the NanoKVM though.
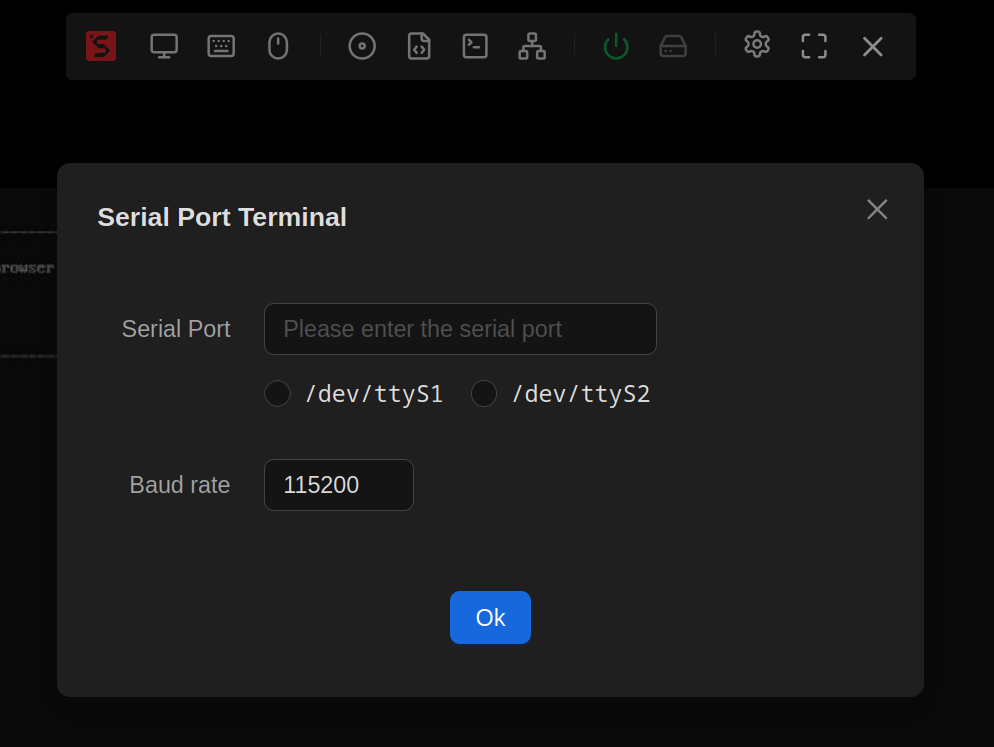
Terminal Icon
![]()
The NanoKVM terminal option logs you into the console on the NanoKVM. It’s pretty simple and requires you to know a set of valid credentials on the device.
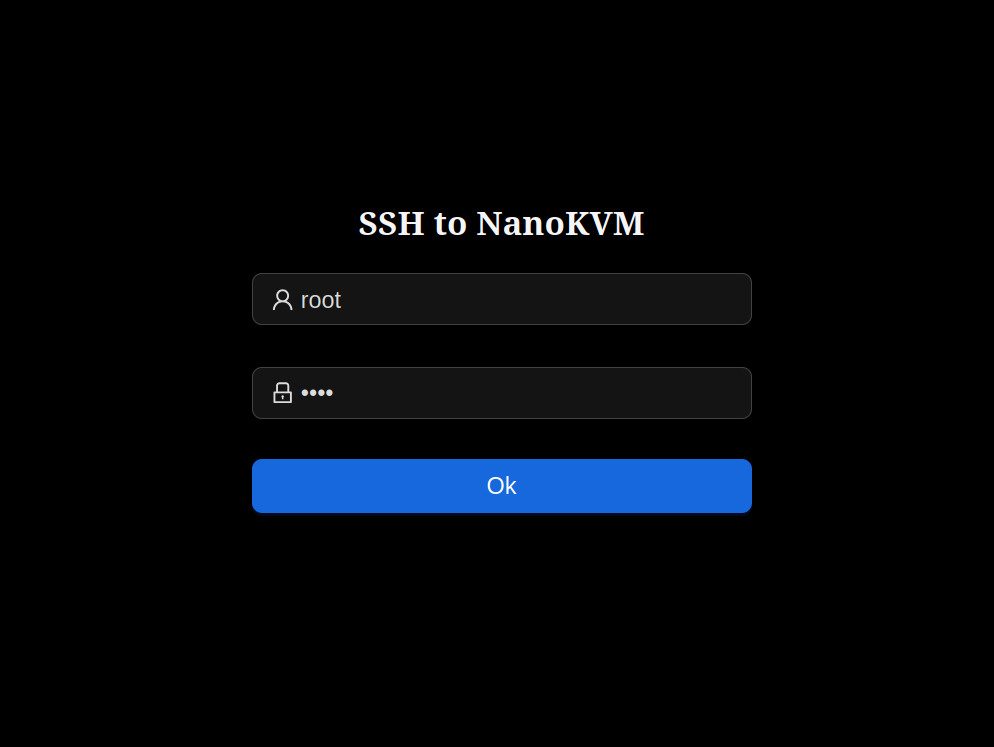
The Serial Port terminal option will open up a console across whatever you have plugged into the serial port on the NanoKVM. On the full version, there are two TTYs and both can be accessed from the web UI.
Network Icon
![]()
The Network icon allows you to set WoL MAC address. I haven’t played with it though, so it might work, might not, don’t really know.
Power Button Icon
![]()
So, three options here. Reset triggers a reset on the server. The short click Power option just simulates a short press on the server power button. The long click Power option…well…it’s a long press that can be adjusted via the slider. Works as expected assuming you hooked up the KVM-B board correctly.
Settings Icon
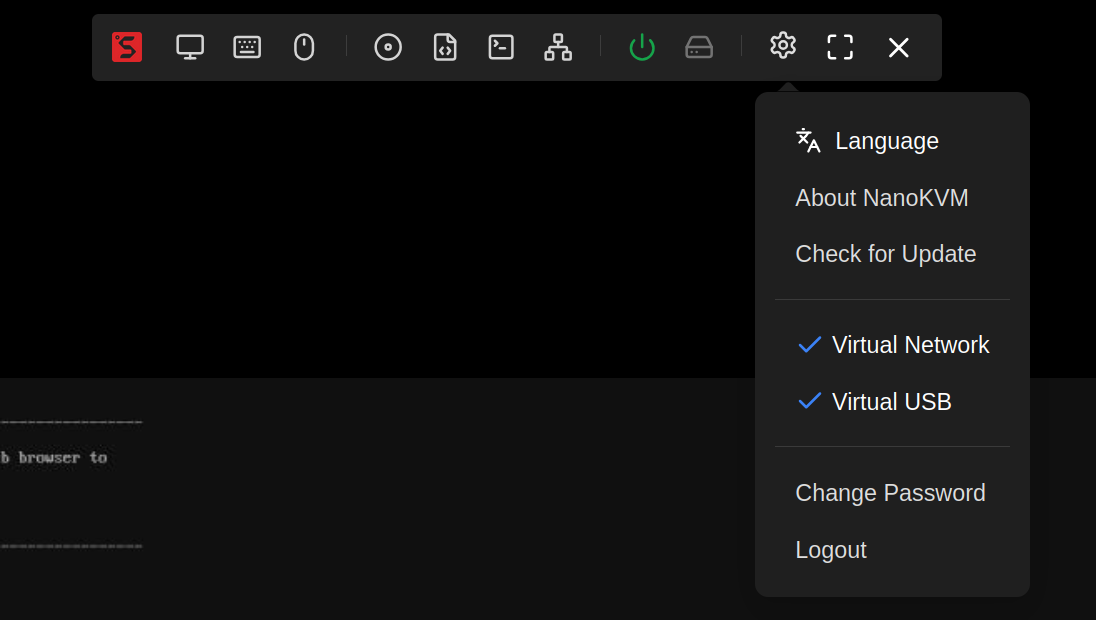
You can enable/disable the virtual network/USB stuff, change the password of the admin user, check for updates, and logout of the UI. I would call this the bare minimum of features.
Terminal Settings
Not everything can be set via the UI. For some settings, you will have to log into the device and start messing with configuration files.
For networking stuff, you’re gonna want to create the /boot/eth.nodhcp file3. It looks like there’s only the most basic of options to set a static IP address which is kinda unfortunate. I haven’t played with the /etc/network/interfaces file yet because I got lazy and just added my devices to the DHCP server via MAC address, then forced them onto a VLAN via the port configuration on the switch.
Terminal UI Settings
So, you changed the default admin user password in the UI? Well, prepare to be amazed!
Take a look at the /etc/kvm directory and specifically at the pwd file. Is that your password? Yeah, it’s not ideal.4
1
2
3
4
5
6
7
8
# pwd
/etc/kvm

# ls /etc/kvm
frame_detact  pwd           server.yaml

# cat /etc/kvm/pwd
{"username":"admin","password":"U2FsdGVkX18bLJNGf6YRRrBDEgFs%2Bk00TVqCurbWPlWX4ChiDDIFL12mmN1VHb6b"}
The /etc/kvm/server.yaml file has the UI web configuration stored in it. Want to run https? This is where that settings lives.
1
2
3
4
5
6
7
protocol: http
port:
  http: 80
  https: 443
cert:
  crt: server.crt
  key: server.key
The Wiki does warn that enabling https can cause some issues with streaming due to increased CPU load. To change it, you just change the protocol to https and I’m going to guess that you’re also going to need certs. I haven’t gotten around to trying this yet.
Conclusion
Honestly, the Quick Review part says it all: it does what it says it does. I’m not thrilled about the state of the firmware because it’s a shitshow, but they could solve part of this by just releasing the code.
The firmware releases make absolutely no sense. The devices say they’re on the latest firmware, but I have a sneaking suspicion that the 1.2.0 firmware is more recent with better features. However, I have no real way of knowing that without disassembling the device to update the firmware.
I feel like the support for this isn’t great, and curious folks will have to build their own software solution for this device. Until then, it gets the job done and I’d strongly recommend keeping these isolated on the network.
Update (2024-08-19): After reading a bit more on the firmware dump, this wasn’t really a fair conclusion. They’re perfectly reasonable devices to remotely manage servers on the network. I do have serious questions about firmware support because it is a shitshow, but I don’t think that should stop someone from ordering 1 or more of these.
Footnotes
This is my estimated price getting it from Sipeed to your place of residence. My order of 5 came out to be around $250. Also on the Sipeed NanoKVM page you are charged a commission fee of $2/$3 when ordering the NanoKVM Lite/Full. If you order five though, it’s $3/$10 for the NanoKVM Lite/Full. ↩ ↩2
Of course, if you run a program from the SDCard it still gets loaded into memory so…err…it’s the thought that counts I guess? ↩
This is all sourced from the NanoKVM Wiki. ↩
Since this is just a JSON object, you can’t really add another user to the file. If it had’ve been an array, well, that’s a different beast altogether. However, I wonder if changing the username would change the default user… ↩