Prototype and Lesson Learned

So, the PCBs came in and everything looked great. Stencil arrived with it as well and looked great as well. All of the components came in, and the LEDs look friggin’ awesome.
I’ve always been a big fan of amber LEDs.
With a heat gun, soldering iron, tweezers, and a whole bucket of motivation I went ahead and started prepping the components for soldering. It wasn’t difficult, but it was tedious as hell. 0402 LEDs are tiny, and it doesn’t matter how clean your tweezers are, those bastards will defy any and all physics by either sticking on the tweezers, or by vanishing never to be seen again.
However, after a few hours I had 360 LEDs all pointing the same direction, about 45 resistors, and 10 capacitors all ready to go.
The Other Shoe
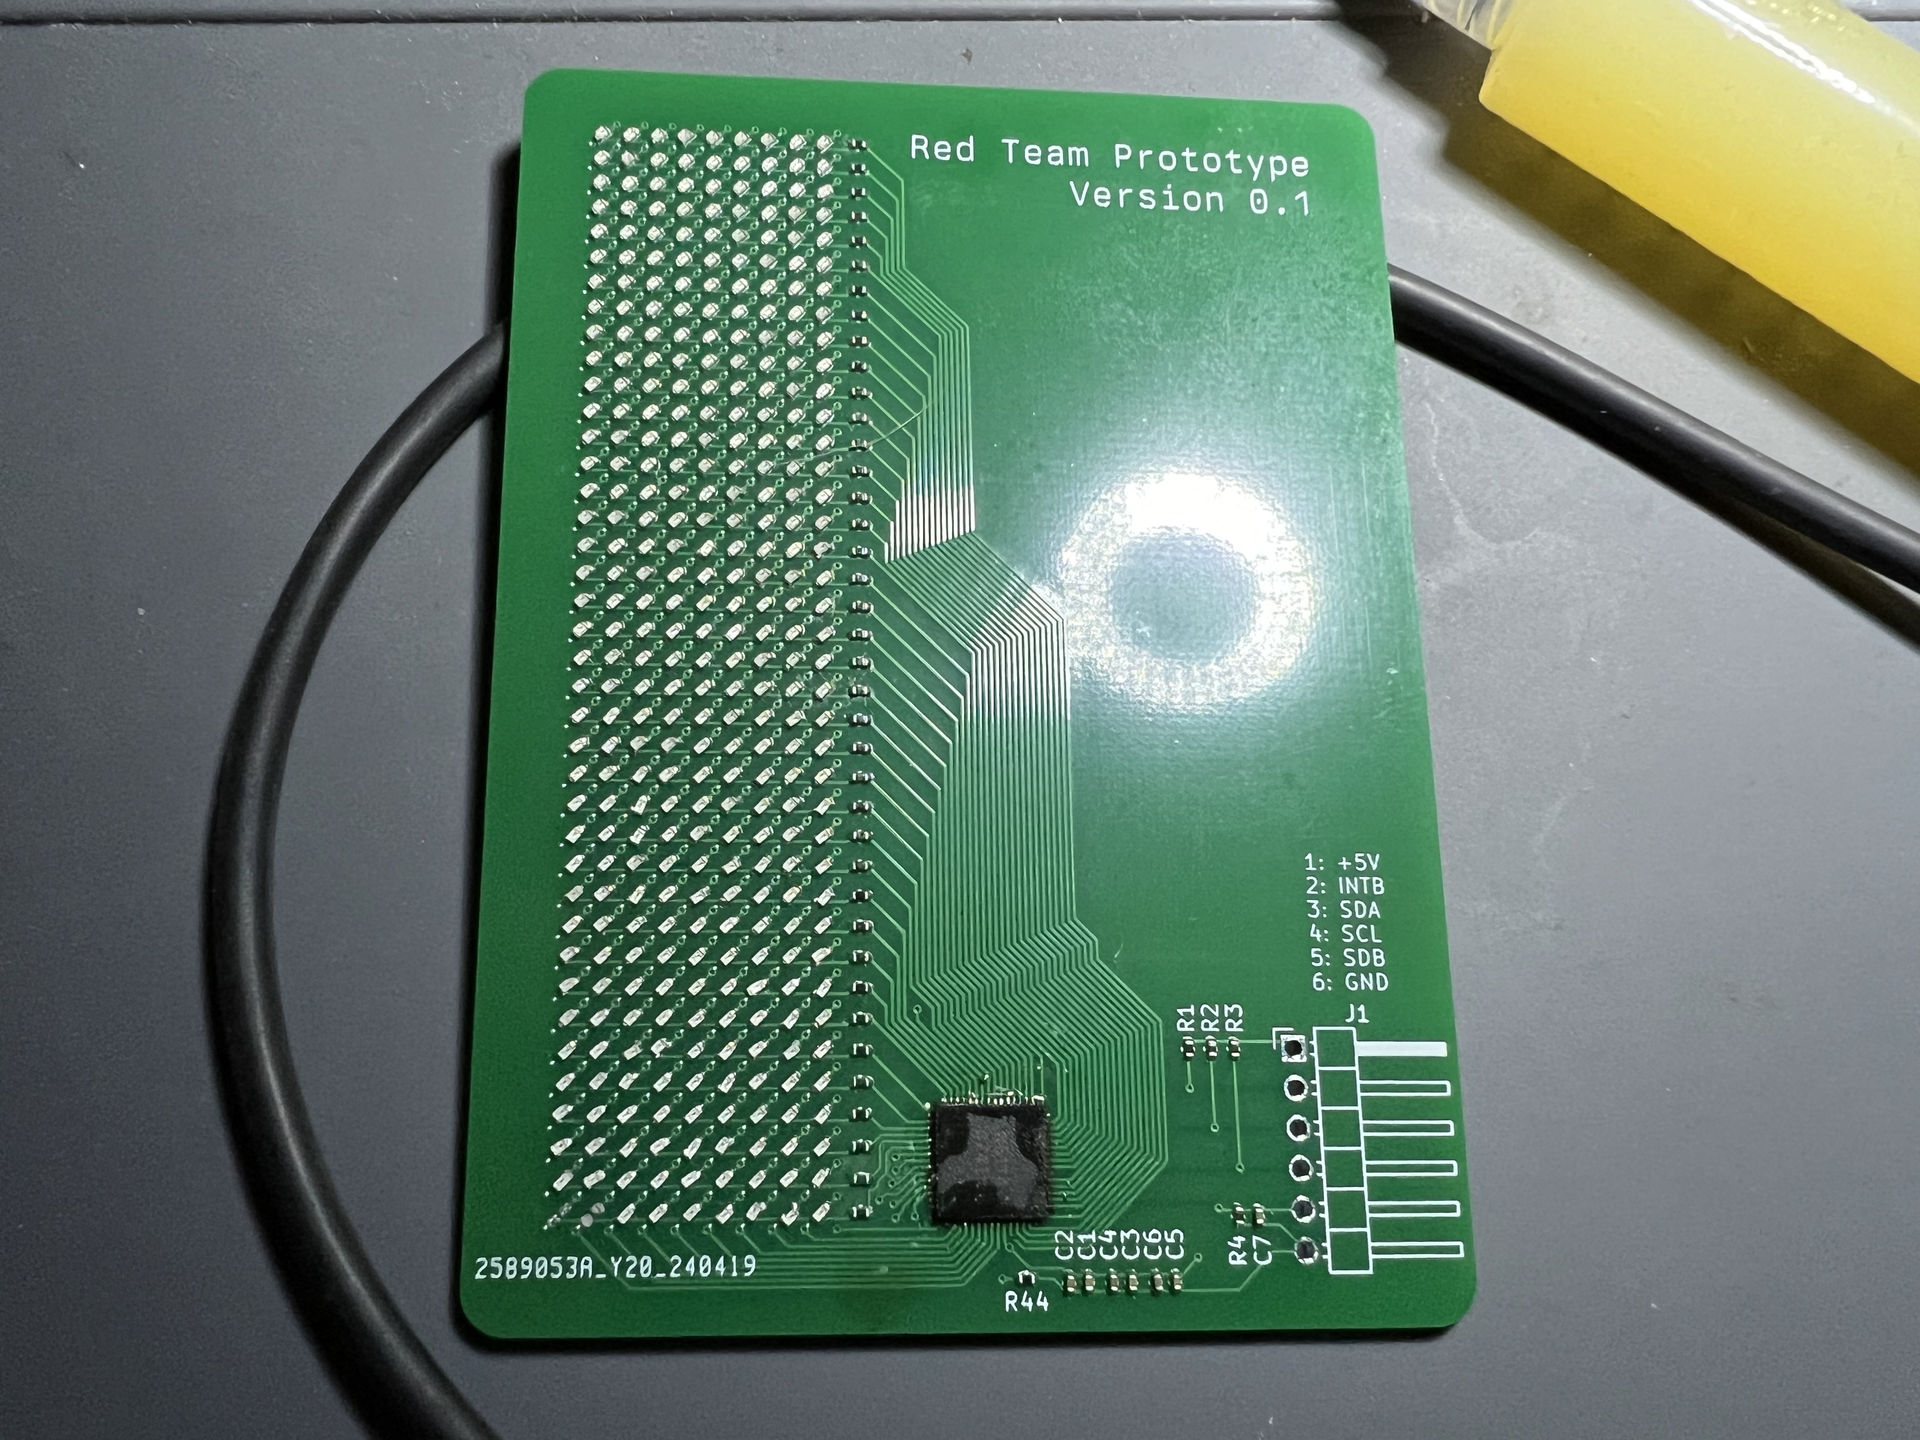
So, got the PCB setup in the jig, got the stencil perfectly aligned, and did a pretty good job of applying solder paste on the PCB.
Methodically placed all those 1.0mm by 0.5mm components on the board, verified that all the LEDs were in the same direction. Made sure that all the resistors were placed correctly and that they were the correct values.
This is the problem: I soldered every damned LED in backwards.
If there’s one thing I can say, it’s make damned sure that all your LEDs/diodes/polarized components are oriented in the correct direction and not just in the same direction.
Current Progress
Now, I have more than enough components to build a few prototypes, so I should have a working board finished up by the end of the week. I love the way the board is looking with everything populated, and I should be able to verify functionality and start programming stuff once the Barduino board comes in (which I will make a post about later).
Until then: holy crap, I hate smol LEDs.